Dashboard
Introduction
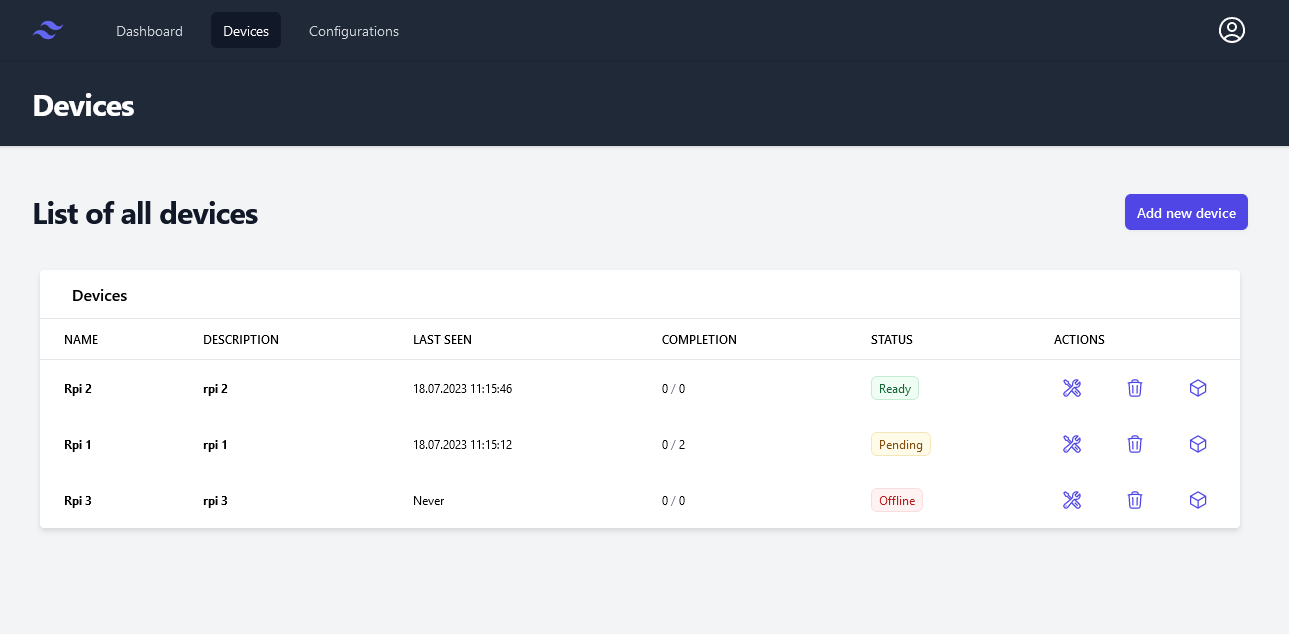
Dashboard is a remote content management application for Raspberry Pi that simplifies administration. This system makes it possible to change the configuration of Raspberry Pi devices and perform actions on them remotely via a web interface.
How to run
- Follow instructions to start the backend at backend code.
- Follow instructions to start the frontend at frontend code.
- Follow instructions to start the agent at agent code.
- Access the frontend at http://localhost:3000.
Architecture and design
The Dashboard application is built around three main components:
- Backend - The backend service used by Dashboard.
- Frontend - The frontend service used by Dashboard.
- Agent - The agent service used by Dashboard.
ec590558-ba62-4bda-ab10-e1b8ef15e6ab
Backend
The backend is a NestJS application. It is an API that allows users to manage their Raspberry Pi devices. This API allows users to create devices (Raspberry Pi or other), create configurations (a set of actions to perform on a device) and apply configurations to devices.
Code and how to run at https://gitlab.com/beescreens/beescreens/-/tree/main/apps/dashboard/backend.
Frontend
The frontend is a Next.js application. It is a web application that allows users to manage their Raspberry Pi devices via the backend API with a user-friendly interface.
Code and how to run at https://gitlab.com/beescreens/beescreens/-/tree/main/apps/dashboard/frontend.
Agent
The agent is a Golang and Cobra application. It is a CLI that allows the communication between the backend and the Raspberry Pi devices. The agent is installed on the Raspberry Pi devices and allows the execution of actions on the devices.
Code and how to run at https://gitlab.com/beescreens/beescreens/-/tree/main/apps/dashboard/beegent.
Technical details
Network considerations
To enable the agent installed on the Raspberry Pi to communicate with the Dashboard API, the architecture used is a Pull architecture. With this type of architecture, it's the Raspberry Pi that periodically contacts the API to ask for the latest configurations to be applied.
24b33bd3-e051-4a3a-a938-fe9106c75633
Configuration management
Ansible is used to create configurations (aka playbooks) and apply them to Raspberry Pi devices. By default, Ansible uses a push architecture that is not suitable for the Dashboard application. To solve this problem, we use a pull architecture with the Ansible Pull method.
f05d2c16-2301-4593-b21c-ca194999670e
The existing Ansible playbooks (configurations) are stored in the backend/ansible directory of the Dashboard application. New configurations must be added to this directory and then pushed to the Git server.
Global architecture
The following diagram shows the global architecture of the Dashboard application and how the different components interact with each other.
- The user creates a device via the frontend.
- The user creates a configuration via the frontend.
- The user associates a device with a configuration via the frontend.
- The agent installed on the device contacts the API to retrieve the configurations to be applied.
- The agent applies the configuration to the device via Ansible Pull.
- The agent updates the status of the configuration via the API.
d1c668d0-0a84-4afd-b534-5006d901bf2f
Database schema
The following diagram shows the database schema used by the Dashboard application.
0a389eb9-1e30-4a98-a717-d44f22c1f1f0
Details about the agent
This section gives more details about the agent and how it works.
How it works
The following diagram shows how the agent works and how it interacts with the Dashboard application.
7f92b889-c210-44ff-9d44-44e547891613
How to build and publish the agent
As mentioned above, the agent is a CLI that allows the communication between the backend and the Raspberry Pi devices. The agent is written in Golang and uses the Cobra library to manage the CLI. The GitLab CI / CD pipeline is used to build the agent for the different architectures (thanks to Go cross compilation) and to publish the binaries in the GitLab package registry.
The agent is then installed on the Raspberry Pi devices manually.
How to run the agent
To synchronize the Raspberry Pi devices with the Dashboard application, the agent must be run periodically. To do this, we use the systemd service manager.
The following systemd service must be created on the Raspberry Pi devices and is responsible for running the agent periodically. The service is configured to run every 30 seconds.
Install and configure the Raspberry Pi
- Download the beegent binary and
config.yamlfrom GitLab Package Registry - Move the beegent binary to
/usr/local/binand the config file to~/.beegent/config.yaml - Install Ansible pull with
sudo apt install --yes ansible(to install Ansible inside/usr/bin) - Create a new systemd service (file) under
/etc/systemd/system/beegent.service - The content of the service should be the following: (See How to run the agent for more details)
- Replace
<user>and<group>with the user and group of the device - Run
systemctl daemon-reloadto reload the systemd daemon - Enable the service with
sudo systemctl enable beegent.service - Start the service with
sudo systemctl start beegent.service